
티스토리 뷰
Picker View는 아이폰에서 원하는 항목을 선택할 수 있게 해주는 객체로, picker 라고도 한다.
간단하게 아이폰 버전 콤보 콤보박스라고 생각하면 될 거 같다.
바로 한번 알아보자.
우선, 프로젝트를 생성한 뒤에 스토리보드를 아래와 같이 구성했다.
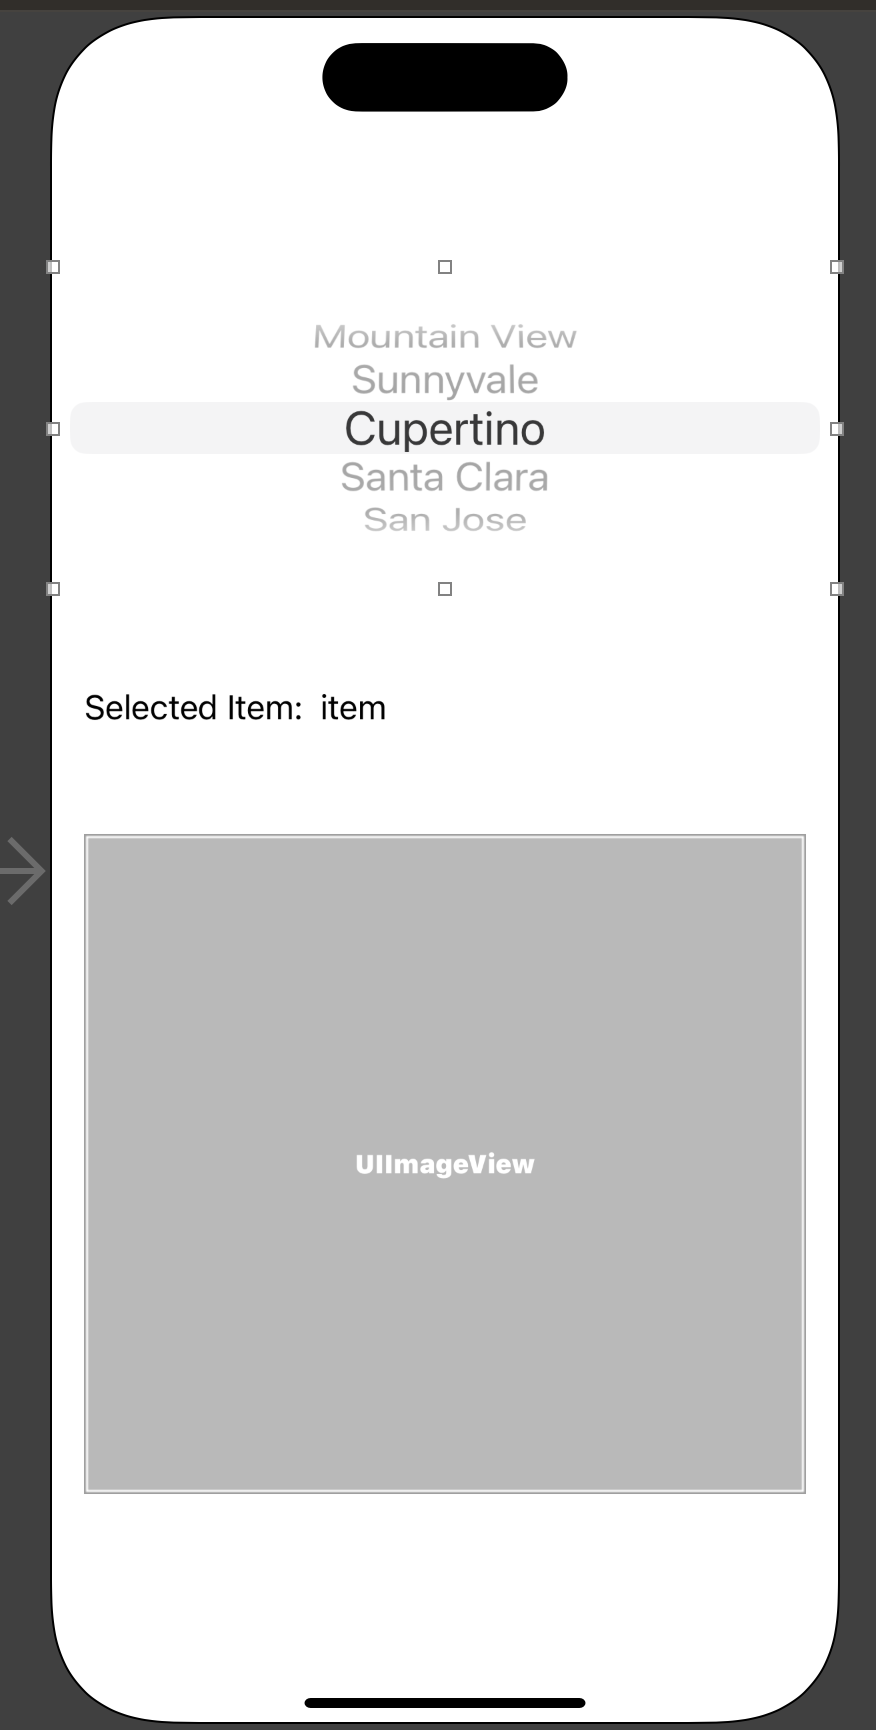
다음으로 각 객체를 @IBOutlet 객체를 생성하여 연결한다.
@IBOutlet var pickerView: UIPickerView!
@IBOutlet var itemSelected: UILabel!
@IBOutlet var imageView: UIImageView!
pickerView 예제는 @IBAction 메서드를 선언하여 구현하는 것이 아닌 PickerView에 대한 Delegate(위임자) 메서드를 선언하여 선택된 객체에 따른 동작을 구현한다.
- Delegate?
Delegate는 위임자, 대리자라도 하며 특정 객체와 상호 작용을 할 때 메시지를 넘기면 그 메시지에 대한 책임이 Delegate 로 위임된다. 그리고 Delegate 메서드는 해당 역할을 수행하며 처리 결과나 메시지 등을 받는다.
즉, 사용자가 객체를 터치했을 때 해야 할 일을 Delegate 메서드에서 구현하고 해당 객체가 터치되었을 때 Delegate가 호출되어 위임받은 일을 하게 된다는 것이다.
동작은 안드로이드에서 onClick과 같은 오버라이드 메서드를 Activity에서 직접 재정의하여 사용하는 것과 거의 동일하다.

위와 같이 PickerView 객체를 ViewController 쪽으로 드레그 후, Delegate 를 선택하면 된다.
이후에 PickerView의 Delegate 메서드를 사용하기 위해 UIPickerViewDelegate, UIPickerViewDataSource 프로토콜을 상속받도록 코드를 작성해야한다.
class ViewController: UIViewController, UIPickerViewDelegate, UIPickerViewDataSource{
위 두 프로토콜은 아래와 같이 각자의 Delegate 메서드를 가지고 있다.
@MainActor public protocol UIPickerViewDelegate : NSObjectProtocol {


    // returns width of column and height of row for each component.
    @available(iOS 2.0, *)
    optional func pickerView(_ pickerView: UIPickerView, widthForComponent component: Int) -> CGFloat

    @available(iOS 2.0, *)
    optional func pickerView(_ pickerView: UIPickerView, rowHeightForComponent component: Int) -> CGFloat


    // these methods return either a plain NSString, a NSAttributedString, or a view (e.g UILabel) to display the row for the component.
    // for the view versions, we cache any hidden and thus unused views and pass them back for reuse.
    // If you return back a different object, the old one will be released. the view will be centered in the row rect
    @available(iOS 2.0, *)
    optional func pickerView(_ pickerView: UIPickerView, titleForRow row: Int, forComponent component: Int) -> String?

    @available(iOS 6.0, *)
    optional func pickerView(_ pickerView: UIPickerView, attributedTitleForRow row: Int, forComponent component: Int) -> NSAttributedString? // attributed title is favored if both methods are implemented

    @available(iOS 2.0, *)
    optional func pickerView(_ pickerView: UIPickerView, viewForRow row: Int, forComponent component: Int, reusing view: UIView?) -> UIView


    @available(iOS 2.0, *)
    optional func pickerView(_ pickerView: UIPickerView, didSelectRow row: Int, inComponent component: Int)
}
@MainActor public protocol UIPickerViewDataSource : NSObjectProtocol {
// returns the number of 'columns' to display.
@available(iOS 2.0, *)
func numberOfComponents(in pickerView: UIPickerView) -> Int
// returns the # of rows in each component..
@available(iOS 2.0, *)
func pickerView(_ pickerView: UIPickerView, numberOfRowsInComponent component: Int) -> Int
}
이제 위 Delegate, DataSource 가 가지고 있는 메서드를 사용하려는 목적에 맞춰 재정의하여 사용하면 된다.
//
//  ViewController.swift
//  example_project4
//
//  Created by choonham on 2022/12/13.
//

import UIKit

class ViewController: UIViewController, UIPickerViewDelegate, UIPickerViewDataSource{


    let MAX_ARRAY_NUM = 10
    let PICKER_VIEW_COLUMN = 1
    var imageArray = [UIImage?]()
    var imageFileName = [
        "1.jpg" , "2.jpg" , "3.jpg" , "4.jpg" , "5.jpg" ,
        "6.jpg" , "7.jpg" , "8.jpg" , "9.jpg" , "10.jpg"
    ]

    @IBOutlet var pickerView: UIPickerView!
    @IBOutlet var itemSelected: UILabel!
    @IBOutlet var imageView: UIImageView!

    override func viewDidLoad() {
        super.viewDidLoad()
        // Do any additional setup after loading the view.

        for i in 0 ..< MAX_ARRAY_NUM {
            let image = UIImage(named: imageFileName[i])
            imageArray.append(image)
        }

        itemSelected.text = imageFileName[0]
        imageView.image = imageArray[0]
    }


    // Picker View 에게 컴포넌트 수를 정수 값으로 넘겨주는 deleaget 메서드
    func numberOfComponents(in pickerView: UIPickerView) -> Int {
        return PICKER_VIEW_COLUMN
    }

    // Picker View 에게 컴포넌트의 열의 개수를 정수 값으로 넘겨주는 메서드
    func pickerView(_ pickerView: UIPickerView, numberOfRowsInComponent component: Int) -> Int {
        return imageFileName.count
    }

    // Picker View 에게 각 열의 타이틀을 문자열로 넘겨주는 메서드
    func pickerView(_ pickerView: UIPickerView, titleForRow row: Int, forComponent component: Int) -> String? {
        return imageFileName[row]
    }

    func pickerView(_ pickerView: UIPickerView, didSelectRow row: Int, inComponent component: Int) {
        itemSelected.text =  imageFileName[row]

        imageView.image = imageArray[row]
    }


}
1) numberOfComponents(in pickerView: UIPickerView) -> Int
: Picker View 에게 컴포넌트 수를 정수 값으로 넘겨주기 위한 메서드
2) pickerView(_ pickerView: UIPickerView, numberOfRowsInComponent component: Int) -> Int
: Picker View 에게 컴포넌트의 열의 개수를 정수 값으로 넘겨주는 메서드
3) pickerView(_ pickerView: UIPickerView, titleForRow row: Int, forComponent component: Int) -> String?
: Picker View 에 선택된 Row의 Value 값을 String 형태로 반환하는 메서드
4) pickerView(_ pickerView: UIPickerView, didSelectRow row: Int, inComponent component: Int)
: Picker View가 선택되었을 때 호출되는 메서드
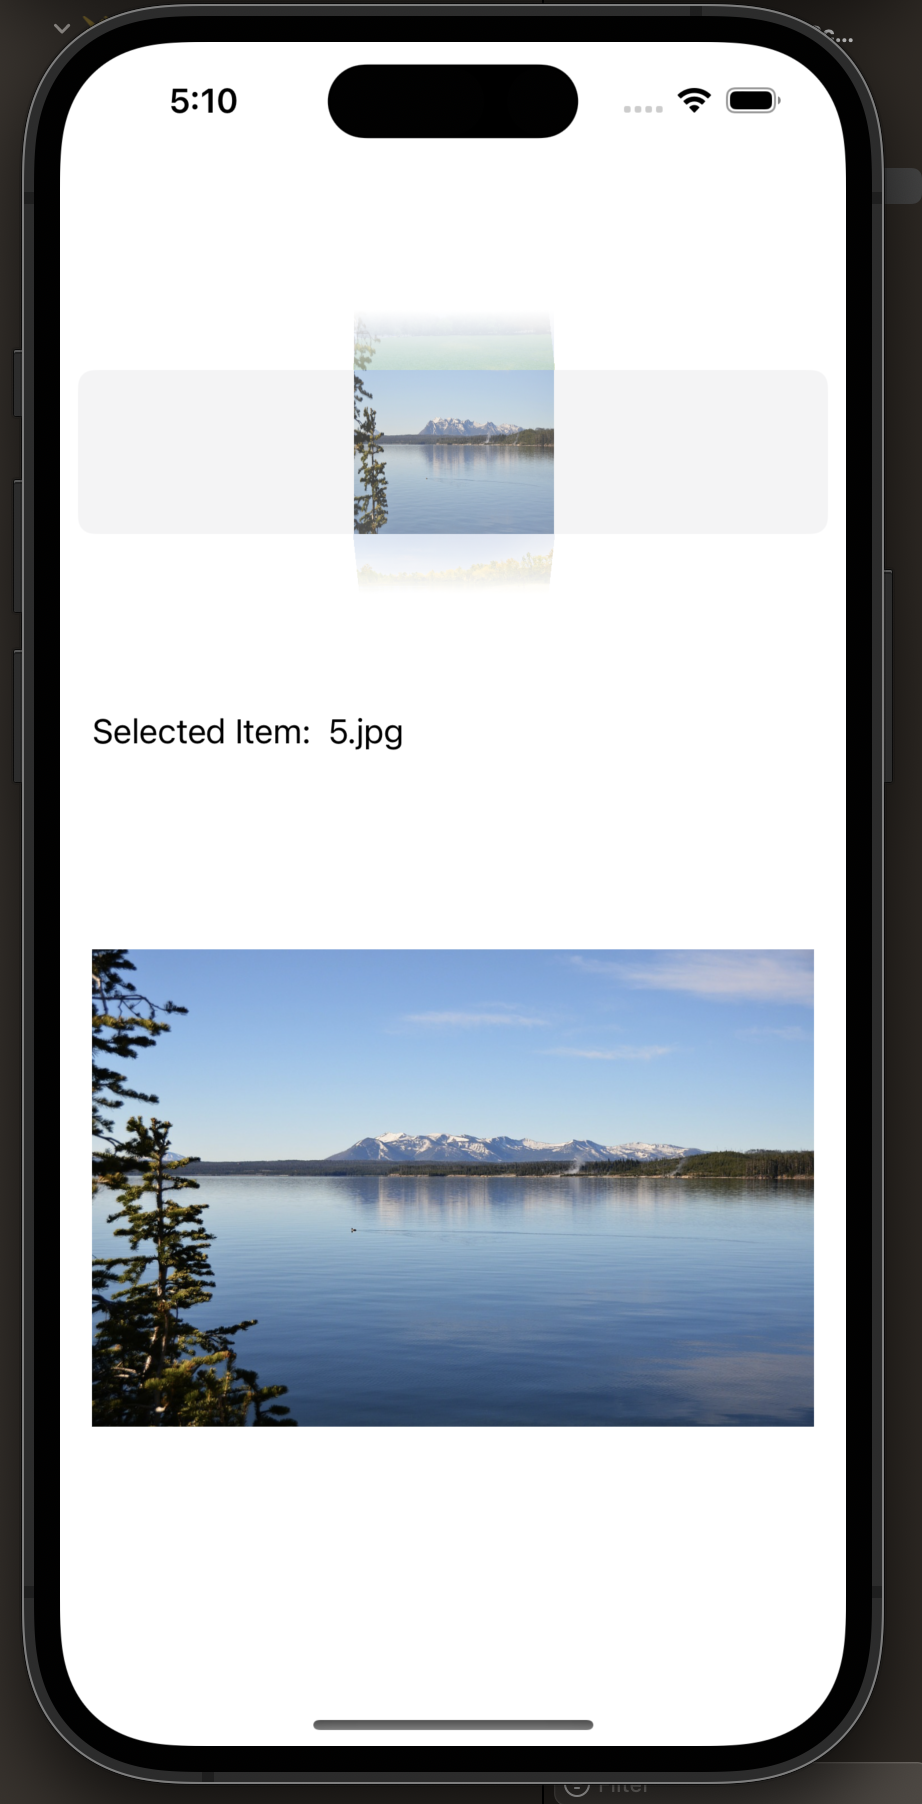
위 코드를 실행하면 아래와 같이 Picker View 에서 선택된 이미지로 변경되는 모습을 볼 수 있다.

아래와 같이 pickerView(_ pickerView: UIPickerView, titleForRow row: Int, forComponent component: Int) -> String? 메서드를 주석처리하고 대신 UIView를 반환하는 메서드를 재정의하여 PickerView 가 문자열이 아닌 이미지를 표시하도록 할 수 있다.
// Picker View 에게 각 열의 타이틀을 문자열로 넘겨주는 메서드
//    func pickerView(_ pickerView: UIPickerView, titleForRow row: Int, forComponent component: Int) -> String? {
//        return imageFileName[row]
//    }

func pickerView(_ pickerView: UIPickerView, viewForRow row: Int, forComponent component: Int, reusing view: UIView?) -> UIView {
    let imageView = UIImageView(image:imageArray[row])
    imageView.frame = CGRect(x: 0, y: 0, width: 100, height: 150)

    return imageView
}

func pickerView(_ pickerView: UIPickerView, rowHeightForComponent component: Int) -> CGFloat {
    return 80
}
끝!
'Mobile > ios' 카테고리의 다른 글
| [ios] ios 6: webView (0) | 2022.12.15 |
|---|---|
| [ios] ios 5: Alert (0) | 2022.12.13 |
| [ios] ios 3: DatePicker & Timer (0) | 2022.12.13 |
| [ios] ios 2: ImageView (0) | 2022.12.12 |
| [ios] ios 1: Hello, Swift! (0) | 2022.12.12 |


- redux-thunk
- 인천 구월동 맛집
- 맛집
- 이탈리안 레스토랑
- react-native
- redux
- Async
- 인천 구월동 이탈리안 맛집
- javascript
- react
- 파니노구스토
- await
- 정보보안기사 #실기 #정리
- AsyncStorage
- Promise
- Total
- Today
- Yesterday