
티스토리 뷰
이번에도 마찬가지로 front-end 국민 실습 App인 todoList를 만들어 보려고 한다.
나름 CRUD도 다 들어가야 하고, 기본적으로 react-native app이 어떤 '형식'으로 구성이 되어 만들어지는 지를 확인할 수 있는 아주 좋은 실습이라고 생각은 하지만, 조금 지루한 프로젝트인 건 반박할 수 없는 사실이다.
App의 데이터는 react를 공부하면서 다뤘던 useState Hook을 기반으로 하며, StyleSheet를 사용하는 것과 아래 코드에서 확인할 수 있겠지만, 버튼과 같은 컴포넌트들을 터치했을 때 그 터치 효과를 정해줄 수 있는 여러 컴포넌트를 을 사용하는 걸 제외하면 react App 제작과 크게 다르지 않다.
바로 한번 확인해보자.
◎App.js
import React, {useState} from 'react';
import {
  KeyboardAvoidingView,
  Platform,
  SafeAreaView,
  ScrollView,
  StatusBar,
  StyleSheet,
  Text,
  useColorScheme,
  View,
} from 'react-native';

import {
  Colors,
  DebugInstructions,
  Header,
  LearnMoreLinks,
  ReloadInstructions,
} from 'react-native/Libraries/NewAppScreen';
import DateHead from './components/DateHead';
import AddToDo from './components/AddToDo';
import Empty from './components/Empty';
import TodoList from './components/TodoList';
const App: () => Node = () => {
  /* 현재 날짜 */
  const date = new Date();

  /* Todo List default data */
  const [todos, setTodos] = useState([
    {id: 1, text: '작업환경 설정', done: true},
    {id: 2, text: '리액트 네이티브 기초 공부', done: false},
    {id: 3, text: 'Todo List 만들기', done: false},
  ]);
  /* insert todo */
  const onInsert = text => {
    const nextID =
      todos.length > 0 ? Math.max(...todos.map(todo => todo.id)) + 1 : 1;

    const todo = {
      id: nextID,
      text,
      done: false,
    };

    setTodos(todos.concat(todo));
  };

  /* check done */
  const onToggle = id => {
    const nextTodos = todos.map(todo =>
      todo.id === id ? {...todo, done: !todo.done} : todo,
    );
    setTodos(nextTodos);
  };
  /* delete todo */
  const onRemove = id => {
    const nextTodos = todos.filter(todo => todo.id !== id);
    setTodos(nextTodos);
  };
  return (
    <SafeAreaView style={styles.block}>
      {/*
        KeyboardAvoidingView: ios에서 키보드가 입력창을 가려버리는 것을 막기 위한 컴포넌트
        Platform.select({ios: 'padding', android: undefined}): ios와 Android, 각 기기별로 다른 속성 적용을 위해 사용
       */}
      <KeyboardAvoidingView
        behavior={Platform.select({ios: 'padding', android: undefined})}
        style={styles.avoid}>
        {/* 상단 날짜 영역 */}
        <DateHead date={date} />
        {todos.length === 0 ? (
          /* 아무 일도 없을 때 나타낼 화면 */
          <Empty />
        ) : (
          /* todo List */
          <TodoList todos={todos} onToggle={onToggle} onRemove={onRemove} />
        )}
        {/* 항목 추가를 위한 컴포넌트 */}
        <AddToDo onInsert={onInsert} />
      </KeyboardAvoidingView>
    </SafeAreaView>
  );
};

const styles = StyleSheet.create({
  block: {
    flex: 1,
    backgroundColor: 'white',
  },
  avoid: {
    flex: 1,
  },
});

export default App;
◎DateHead.js: 상단 날짜 표시를 위한 컴포넌트
import React from 'react';
import {StyleSheet, View, Text, StatusBar} from 'react-native';

const DateHead = ({date}) => {
  const year = date.getFullYear();
  const month = date.getMonth() + 1;
  const day = date.getDate();
  const formatted = `${year}년 ${month}월 ${day}일`;
  return (
    <>
      <StatusBar backgroundColor={'#3b00ff'} />
      <View style={styles.block}>
        <Text style={styles.dateText}>{formatted}</Text>
      </View>
    </>
  );
};

const styles = StyleSheet.create({
  block: {
    padding: 16,
    backgroundColor: '#26a69a',
  },
  dateText: {
    fontSize: 24,
    color: 'white',
  },
});

export default DateHead;
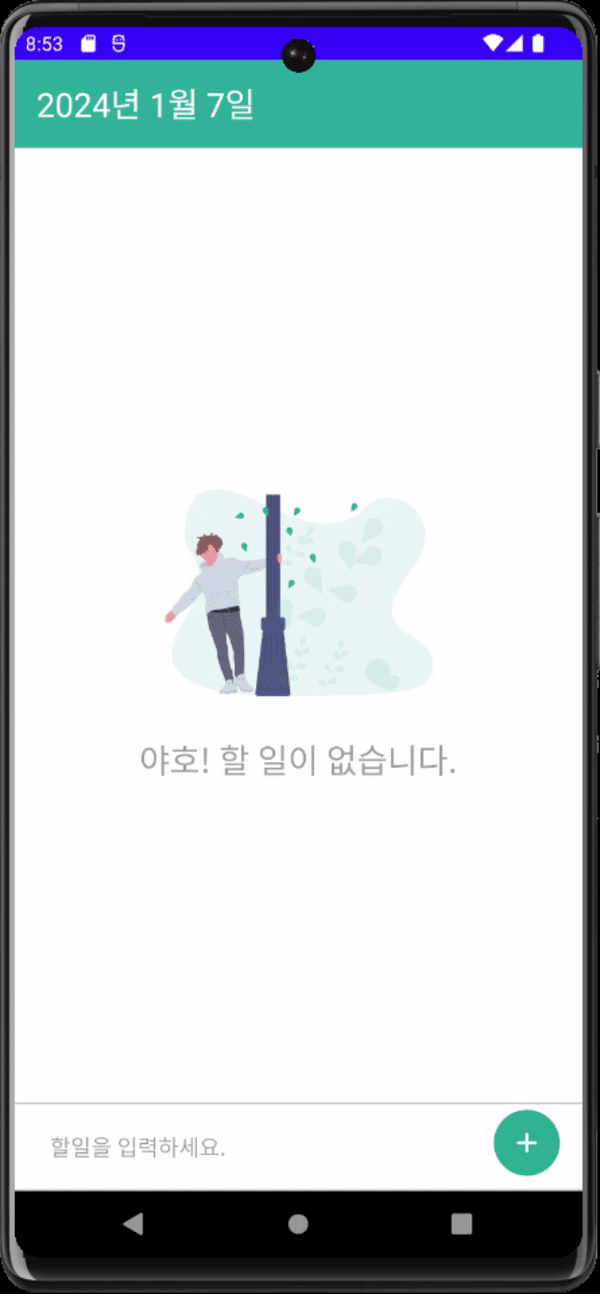
◎Empty.js: 할 일이 없을 때, 나타낼 화면
import React from 'react';
import {StyleSheet, Text, View, Image} from 'react-native';

const Empty = () => {
  return (
    <View style={styles.block}>
      <Image
        source={require('../assets/images/young_and_happy.png')}
        style={styles.image}
      />
      <Text style={styles.description}>야호! 할 일이 없습니다.</Text>
    </View>
  );
};

const styles = StyleSheet.create({
  block: {
    flex: 1,
    alignItems: 'center',
    justifyContent: 'center',
  },
  image: {
    height: 179,
    width: 240,
    marginBottom: 16,
  },
  description: {
    fontSize: 24,
    color: '#9e9e9e',
  },
});

export default Empty;
◎ TodoList.js: todo List
import React from 'react';
import {FlatList, StyleSheet, View, Text} from 'react-native';
import TodoItem from './TodoItem';

const TodoList = ({todos, onToggle, onRemove}) => {
  return (
    /* ItemSeparatorComponent: 내부 component를 separator로 사용 */
    <FlatList
      ItemSeparatorComponent={() => <View style={styles.separator} />}
      style={styles.list}
      data={todos}
      renderItem={({item}) => (
        <TodoItem
          id={item.id}
          text={item.text}
          done={item.done}
          onToggle={onToggle}
          onRemove={onRemove}
        />
      )}
      keyExtractor={item => item.id.toString()}
    />
  );
};

const styles = StyleSheet.create({
  list: {
    flex: 1,
  },
  separator: {
    backgroundColor: '#e0e0e0',
    height: 1
  }
});

export default TodoList;
◎TodoItem.js: todo list에 삽입될 Item 컴포넌트
import React from 'react';
import {
  View,
  Text,
  StyleSheet,
  Image,
  TouchableOpacity,
  Alert,
} from 'react-native';
import Icon from 'react-native-vector-icons/MaterialIcons';

const TodoItem = ({id, text, done, onToggle, onRemove}) => {
  const remove = () => {
    Alert.alert('삭제', '정말로 삭제하시겠어요?', [
      {text: '취소', onPress: () => {}, style: 'cancel'},
      {
        text: '삭제',
        onPress: () => {
          onRemove(id);
        },
        style: 'destructive',
      },
      {
        cancelable: true,
        onDismiss: () => {},
      },
    ]);
  };
  return (
    <View style={styles.item}>
      <TouchableOpacity
        onPress={() => {
          onToggle(id);
        }}>
        <View style={[styles.circle, done && styles.filled]}>
          {done && (
            <Image
              source={require('../assets/icons/check_white/check_white.png')}
            />
          )}
        </View>
      </TouchableOpacity>
      <Text style={[styles.text, done && styles.lineThrough]}>{text}</Text>
      {done ? (
        <TouchableOpacity activeOpacity={0.5} onPress={remove}>
          <Icon name={'delete'} size={32} color={'red'} />
        </TouchableOpacity>
      ) : (
        <View style={styles.removePlaceholder} />
      )}
    </View>
  );
};

const styles = StyleSheet.create({
  item: {
    flexDirection: 'row',
    padding: 16,
    alignItems: 'center',
  },
  circle: {
    width: 24,
    height: 24,
    borderRadius: 12,
    borderColor: '#26a69a',
    borderWidth: 1,
    marginRight: 16,
  },
  filled: {
    justifyContent: 'center',
    alignItems: 'center',
    backgroundColor: '#26a69a',
  },
  lineThrough: {
    color: '#9e9e9e',
    textDecorationLine: 'line-through',
  },
  text: {
    flex: 1,
    fontSize: 16,
    color: '#212121',
  },
  removePlaceholder: {
    width: 32,
    height: 32,
  },
});

export default TodoItem;
기본적인 ES6 문법과 useState 만을 사용하여 구현하는 간단한 App이기 때문에 주석으로 설명하는 것 이외에 따로 설명할 건 없다.
다만, vector 이미지를 사용하여 delete 아이콘을 구현했는데, vector 모듈을 android / ios에 각각 따로 설정을 해줘야 사용할 수 있어서 그 설정법은 정리를 할 필요가 있을 거 같다.
https://til-choonham.tistory.com/499
[react-native] vector module 셋팅
우선, yarn을 사용하여 vector-icons 모듈을 설치하자. yarn add react-native-vector-icons 안드로이드 안드로이드는 react-native 프로젝트 디렉토리 내에 있는 android/app/build.gradle 파일 맨 아래에 아래와 같이 작
til-choonham.tistory.com
'Mobile > react-native' 카테고리의 다른 글
| [react-native] AsyncStorage (0) | 2024.01.08 |
|---|---|
| [react-native] vector module 셋팅 (0) | 2024.01.07 |
| [react-native] StyleSheet: resizeMode (1) | 2024.01.07 |
| [react-native] 고유 첫 프로젝트: counter (0) | 2024.01.07 |
| [react-native] StyleSheet (0) | 2024.01.06 |

- Promise
- 맛집
- redux-thunk
- javascript
- 정보보안기사 #실기 #정리
- 인천 구월동 맛집
- 파니노구스토
- 인천 구월동 이탈리안 맛집
- AsyncStorage
- react
- redux
- await
- react-native
- Async
- 이탈리안 레스토랑
- Total
- Today
- Yesterday