
티스토리 뷰
이번 포스트에서는 Flutter를 처음 접하는 만큼 필수적으로 알아야 할 기본 위젯 중 몇가지 기초적인 내용을 정리하려고 한다.
Flutter는 기본적으로 모든 컴포넌트가 위젯이며, 누구나 위젯을 만들고 배포할 수 있기 때문에 수도 없이 많은 위젯들이 있다.
웹상에서 사람들이 올려놓은 유용한 오픈소스 위젯들을 확인하고 다운받을 수 있으며, Flutter의 공식 유튜브 채널에서도 다양한 위젯들의 설명을 확인할 수 있다.
- pub.dev: https://pub.dev
Dart packages
Pub is the package manager for the Dart programming language, containing reusable libraries & packages for Flutter, AngularDart, and general Dart programs.
pub.dev
- Flutter 공식 유튜브: https://www.youtube.com/c/flutterdev
https://www.youtube.com/c/flutterdev
www.youtube.com
이제 기본 위젯들의 사용법을 알아보자.
예제 코드는 모두 Flutter 기본 프로젝트 구성 환경에서 실행했다.
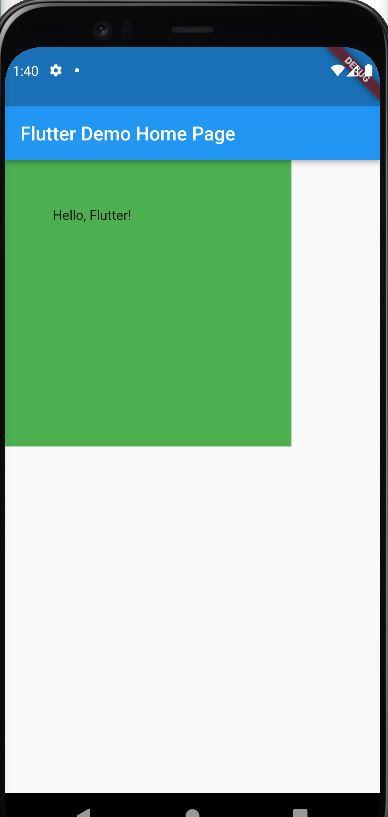
- Container
Container는 가장 기초적인 위젯 중 하나이다. 보통은 여백을 주거나 배경을 설정해주는 역할로 많이 사용된다.
◎main.dart
class MyHomePage extends StatelessWidget {
  final String title;

  MyHomePage({required this.title});

  @override
  Widget build(BuildContext context) {
    return Scaffold(
        appBar: AppBar(
          title: Text(
            title,
          ),
        ),
        body: Container(
          child: Text('Hello, Flutter!'),
          // 모든 방향 padding
          padding: EdgeInsets.all(50),
          // 각 뱡향 padding
          //padding: EdgeInsets.fromLTRB(left, top, right, bottom)
          // 한 방향 padding
          //padding: EdgeInsets.only(left: )
          color: Colors.green,
          height: 300,
          width: 300,

        )
    );
  }

}
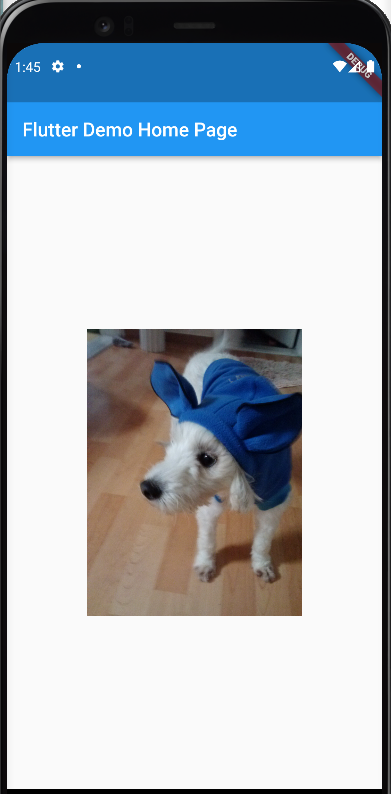
- Image
이미지를 넣기 위한 위젯으로 로컬 내에 있는 이미지를 불러오는 방법과 인터넷의 이미지를 불러오는 방법, 두 가지로 이미지를 표시할 수 있다.
우선, 로컬에 있는 이미지를 사용하기 위해서는 pubspec.yaml 파일에 이미지를 등록 후 get 해야 한다.
◎pubspec.yaml
flutter:

  # The following line ensures that the Material Icons font is
  # included with your application, so that you can use the icons in
  # the material Icons class.
  uses-material-design: true

  # To add assets to your application, add an assets section, like this:
  assets:
    - images/CAM00040.jpg
◎main.dart
class MyHomePage extends StatelessWidget {
  final String title;

  MyHomePage({required this.title});

  @override
  Widget build(BuildContext context) {
    return Scaffold(
        appBar: AppBar(
          title: Text(
            title,
          ),
        ),
        body: Center(
          child: Image.asset(
            'images/CAM00040.jpg',
            width: 300,
            height: 300,
          ),
        )
    );
  }
}
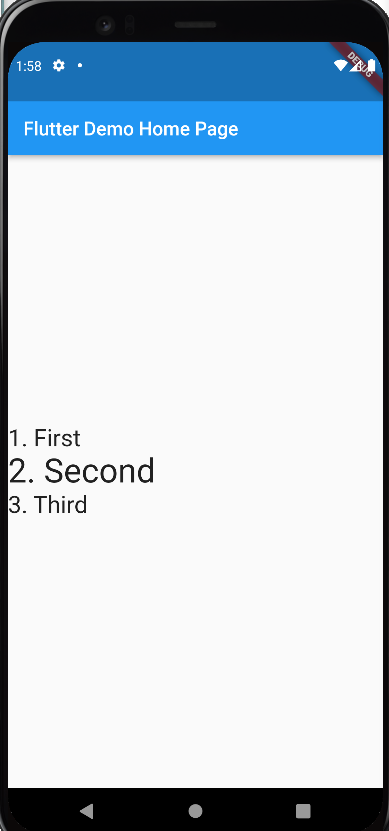
- Column
Column은 위에서 아래로 위젯들을 배치할 수 있도록 하는 위젯이다. 기존 다른 위젯들이 프로퍼티로 child를 사용했다면, Column은 여러 위젯들을 감싸기 때문에 children을 사용한다.
◎main.dart
class MyHomePage extends StatelessWidget {
  final String title;

  MyHomePage({required this.title});

  @override
  Widget build(BuildContext context) {
    return Scaffold(
        appBar: AppBar(
          title: Text(
            title,
          ),
        ),
        body: Column(
          // main: 위쪽에서 아래쪽으로 Align 설정
          mainAxisAlignment: MainAxisAlignment.center,
          // cross: 왼쪽에서 오른쪽으로 Align 설정
          crossAxisAlignment: CrossAxisAlignment.start,
          children: const [
            Text('1. First', style: TextStyle(fontSize: 25)),
            Text('2. Second', style: TextStyle(fontSize: 35)),
            Text('3. Third', style: TextStyle(fontSize: 25)),
          ],
        )
    );
  }
}
- Row
Column과 동일한 개념이다. 대신 위쪽에서 아래로 향하는 배치가 아닌, 왼쪽에서 오른쪽으로 위젯을 배치하는 방식이다.
◎Main.dart
class MyHomePage extends StatelessWidget {
  final String title;

  MyHomePage({required this.title});

  @override
  Widget build(BuildContext context) {
    return Scaffold(
        appBar: AppBar(
          title: Text(
            title,
          ),
        ),
        body: Center(
          child: Row(
            mainAxisAlignment: MainAxisAlignment.center,
            children: const [
              Text('1. First', style: TextStyle(fontSize: 25)),
              Text('2. Second', style: TextStyle(fontSize: 35)),
              Text('3. Third', style: TextStyle(fontSize: 25)),
            ],
          ),
        )
    );
  }
}
Row의 mainAxisAlignment 속성은 여백을 편리하게 여백을 지정할 수 있도록 몇가지 값을 가지고 있다.
// 양옆에 작은 여백이 생기고, 위젯 사이사이에 좀 더 큰 여백을 설정
mainAxisAlignment: MainAxisAlignment.spaceAround

// 위젯을 시점과 끝점에 배치시킬 수 있는 설정
mainAxisAlignment: MainAxisAlignment.spaceBetween

// 양옆, 위젯 사이에 균일한 여백 설정
mainAxisAlignment: MainAxisAlignment.spaceEvenly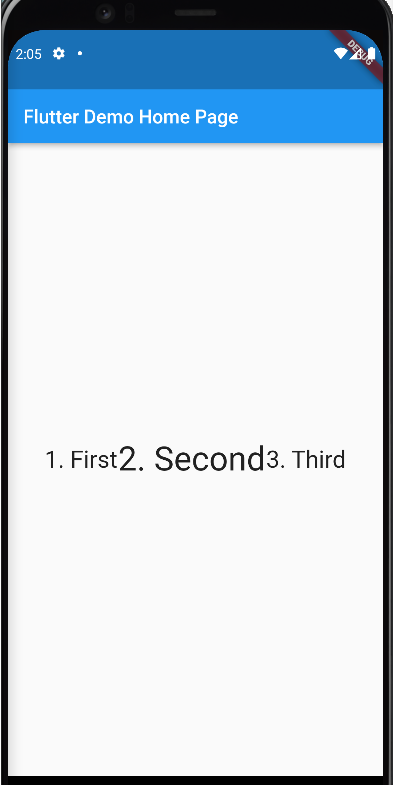
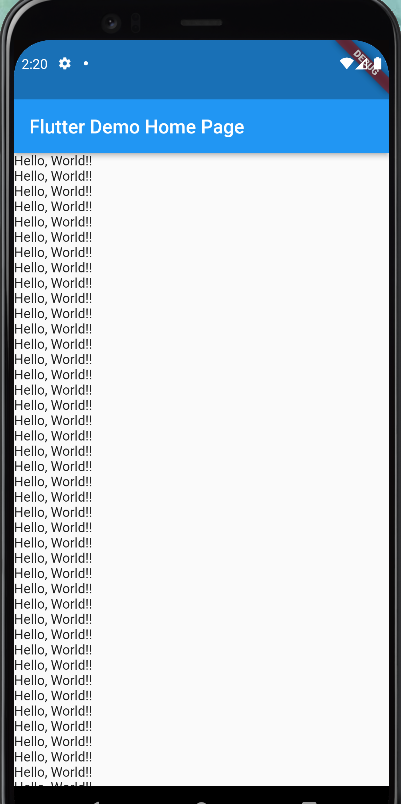
- ListView
ListView는 화면에 넘치도록 위젯이 배치되었을 때 스크롤할 수 있도록 만들어주는 위젯이다.
◎Main.dart
class MyHomePage extends StatelessWidget {
  final String title;
  List<Widget> myChildren = [];

  MyHomePage({required this.title});

  @override
  Widget build(BuildContext context) {
    for(var i = 0; i < 50; i++) {
      myChildren.add(const Text('Hello, World!!'));
    }
    return Scaffold(
        appBar: AppBar(
          title: Text(
            title,
          ),
        ),
        body:
          ListView(
            scrollDirection: Axis.vertical,
            children:
              myChildren
          )
    );
  }
}
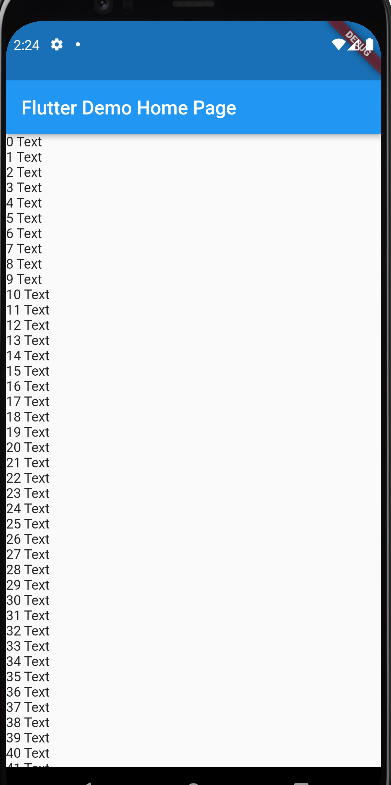
또는 아래와 같이 build를 사용하여 ListView를 만들 수도 있다.
◎Main.dart
class MyHomePage extends StatelessWidget {

  final String title;

  MyHomePage({required this.title});

  @override
  Widget build(BuildContext context) {

    return Scaffold(
        appBar: AppBar(
          title: Text(
            title,
          ),
        ),
        body:
          ListView.builder(
            itemCount: 50,
            itemBuilder: (BuildContext context, int index) {
              return Text('$index Text');
            },
          )
    );
  }
}
- Stack
이름 그대로 위젯 위에 위젯을 쌓을 수 있도록 해주는 위젯이다.
◎Main.dart
class MyHomePage extends StatelessWidget {

  final String title;

  MyHomePage({required this.title});

  @override
  Widget build(BuildContext context) {

    return Scaffold(
        appBar: AppBar(
          title: Text(
            title,
          ),
        ),
        body: Center(
          child: Stack(
            children: [
              Image.network(
                'https://upload.wikimedia.org/wikipedia/commons/7/7e/Dart-logo.png',
                width: 200,
                height: 200,
              ),
              Image.asset('images/CAM00040.jpg', width: 200, height: 200,),
            ],
          ),
        )
    );
  }
}
위젯은 작성된 순서로 차곡차곡 위로 쌓이게 된다.
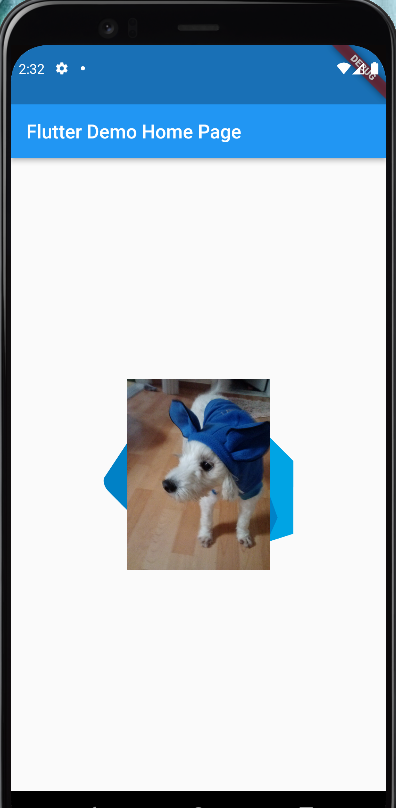
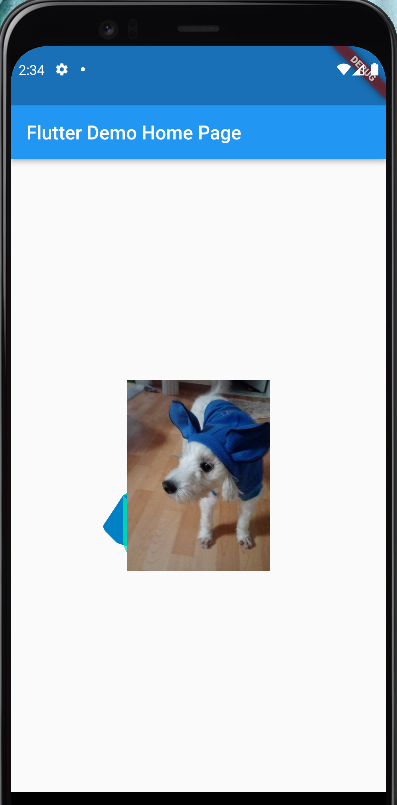
또한 Stack 자체에는 쌓이는 위젯의 위치를 지정하는 기능이 없어서 아래처럼 Positioned라는 위젯의 도움을 받기도 한다.
class MyHomePage extends StatelessWidget {

  final String title;

  MyHomePage({required this.title});

  @override
  Widget build(BuildContext context) {

    return Scaffold(
        appBar: AppBar(
          title: Text(
            title,
          ),
        ),
        body: Center(
          child: Stack(
            children: [
              Positioned(
                left: 0,
                bottom: 0,
                child: Image.network(
                  'https://upload.wikimedia.org/wikipedia/commons/7/7e/Dart-logo.png',
                  width: 100,
                  height: 100,
                ),
              ),
              Image.asset('images/CAM00040.jpg', width: 200, height: 200,),
            ],
          ),
        )
    );
  }
}
여기까지 아주 기본적인 Flutter의 위젯을 몇 가지 살펴보았는데, 다음 포스팅에서는 Flutter의 각기 다른 4가지 버튼 종류를 하나씩 확인해보려고 한다.
끝!
'Mobile > Flutter' 카테고리의 다른 글
| [Flutter] State (0) | 2022.07.11 |
|---|---|
| [Flutter] 화면 전환 (0) | 2022.07.09 |
| [Flutter] Buttons (0) | 2022.07.09 |
| [Flutter] Material: Scaffold (0) | 2022.07.07 |
| [Flutter] Flutter Project 기본 구조 (0) | 2022.07.07 |


- 인천 구월동 맛집
- 파니노구스토
- Async
- 맛집
- react-native
- react
- Promise
- 이탈리안 레스토랑
- redux-thunk
- AsyncStorage
- 인천 구월동 이탈리안 맛집
- javascript
- 정보보안기사 #실기 #정리
- await
- redux
- Total
- Today
- Yesterday