
티스토리 뷰
이번 포스팅은 ios 앱에서 지도, 위치 관련한 기능을 만들 때 필요한 Map View를 다뤄보려고 한다.
Map View를 이용하여 위도와 경도, 그리고 범위를 설정하여 지도에 나타내고, 원하는 곳에 핀을 설치하여 해당 위치에 대한 설명을 추가하려고 한다.
바로 시작해보자.
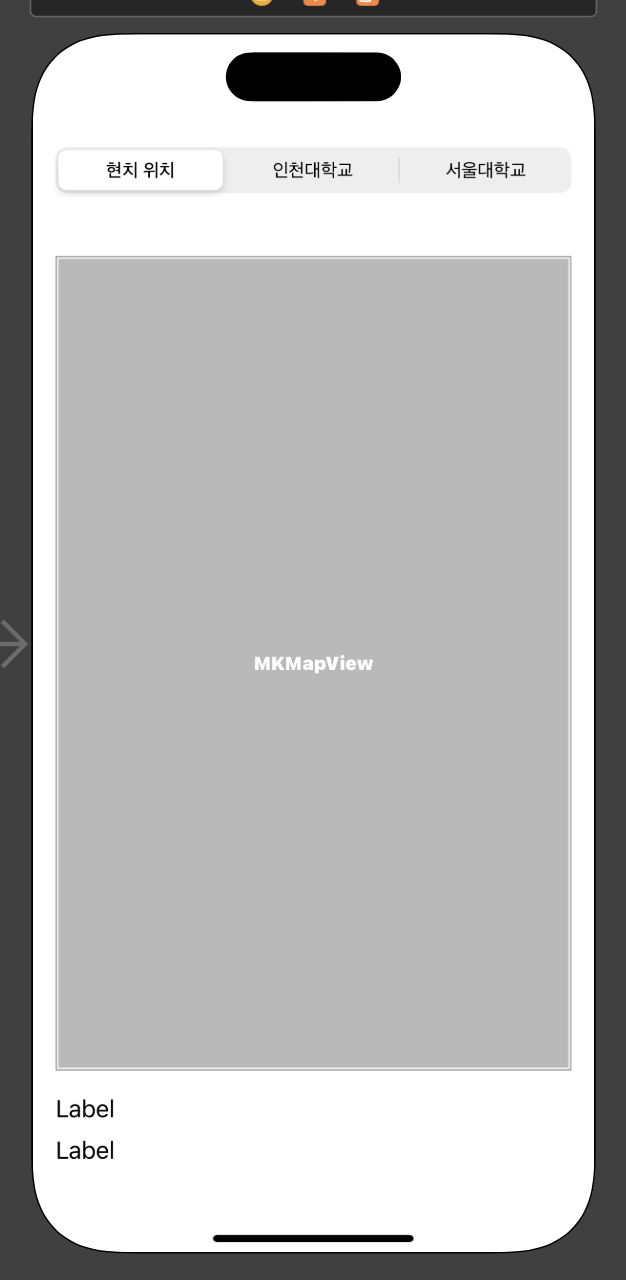
우선, 스토리보드는 아래와 같이 현재위치, 위치1, 위치2 를 선택하여 지도에 나타낼 수 있도록 최상단에 세그먼트 컨트롤을 하나 추가하고 그 아래에 Map View 와 위치 설명을 나타내기 위한 레이블 두개를 셋팅한다.
각 객체를 @IBOutlet 변수로 연결해주고, 세그먼트 컨트롤러는 changeAction 함수를 구현하여 연결한다.
import UIKit
import MapKit

class ViewController: UIViewController{

    @IBOutlet var myMap: MKMapView!
    @IBOutlet var lblLocationInfo1: UILabel!
    @IBOutlet var lblLocationInfo2: UILabel!

    override func viewDidLoad() {
        super.viewDidLoad()
    }

    @IBAction func sgChangeLocation(_ sender: UISegmentedControl) {

    }

}
다음으로 앱을 처음 구동했을 때, 지도가 나타나도록 viewDidLoad 메서드를 작성한다.
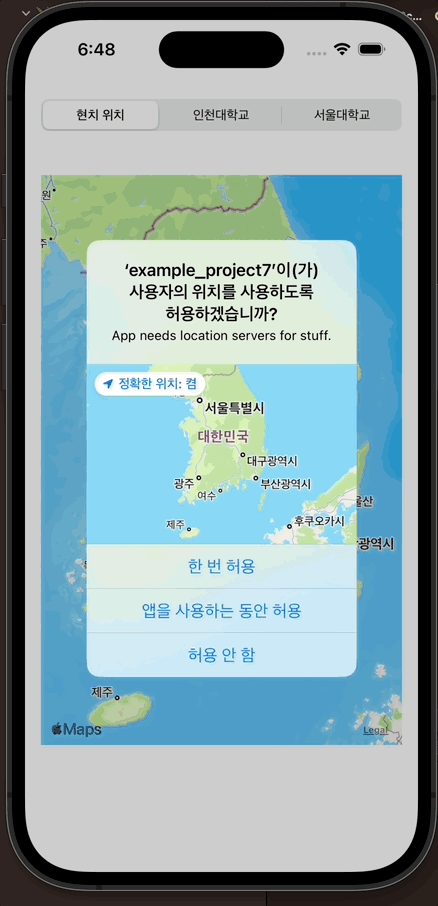
이 때, 지도를 제어하기 위한 CLLocationManager 객체를 선언하고 viewController에서 이를 제어하기 위한 Delegator 를 설정해줘야 하며, 위치 정보를 얻기 위한 권한 설정을 묻기 위해 info 설정을 추가해야 한다.
import UIKit
import MapKit

class ViewController: UIViewController, CLLocationManagerDelegate {

    @IBOutlet var myMap: MKMapView!
    @IBOutlet var lblLocationInfo1: UILabel!
    @IBOutlet var lblLocationInfo2: UILabel!

    let locationManager = CLLocationManager()

    override func viewDidLoad() {
        super.viewDidLoad()
        // Do any additional setup after loading the view.
        lblLocationInfo1.text = ""
        lblLocationInfo2.text = ""

        // 상수 locationManager의 delegate를 self로
        locationManager.delegate = self

        // 정확도를 최고로
        locationManager.desiredAccuracy = kCLLocationAccuracyBest

        // 위치 데이터를 추적하기 위해 사용자에게 승인을 요청
        locationManager.requestWhenInUseAuthorization()

        // 위치 업데이트를 시작
        locationManager.startUpdatingLocation()

        // 위치보기 값을 true로 설정

        myMap.showsUserLocation = true

    }

    @IBAction func sgChangeLocation(_ sender: UISegmentedControl) {

    }

}
◎ info

여기서부터가 조금 복잡한데, 2D 위치 정보를 다루는 CLLocationCoordinate2D 객체와 CLLocation 객체의 소스를 살짝만 확인하고 오면 그다지 어려운 코드는 아니다.
우선 위, 경도 데이터와 span(지도 스케일) 값을 인자로 받아 지도의 위치를 이동시킬 goLoacation 함수와 현재 위치를 찾아 goLocation을 호출할 locationManager(CLLocationManagerDelegate 프로토콜이 구현하고 있는 메서드)를 아래와 같이 작성한다.
import UIKit
import MapKit

class ViewController: UIViewController, CLLocationManagerDelegate {

    @IBOutlet var myMap: MKMapView!
    @IBOutlet var lblLocationInfo1: UILabel!
    @IBOutlet var lblLocationInfo2: UILabel!

    let locationManager = CLLocationManager()

    func goLocation(latitudeValue: CLLocationDegrees, longitudeValue: CLLocationDegrees, delta span: Double) -> CLLocationCoordinate2D{

        // 위경도를 바탕으로 2D 위치를 반환 받는 함수
        let pLocation = CLLocationCoordinate2DMake(latitudeValue, longitudeValue)

        // span 바탕으로 map scale을 지정하기 위한 span value
        let spanValue = MKCoordinateSpan(latitudeDelta: span, longitudeDelta: span)

        // 2D Location과 Span 값을 받아서 정확한 지역을 반환 받는 함수
        let pRegion = MKCoordinateRegion(center: pLocation, span: spanValue)

        myMap.setRegion(pRegion, animated: true)

        return pLocation
    }

    func locationManager(_ manager: CLLocationManager, didUpdateLocations locations: [CLLocation]) {
        // 위치가 업데이트되면 먼저 마지막 위치 값을 찾아낸다.
        let pLocation = locations.last
        _ = goLocation(latitudeValue: (pLocation?.coordinate.latitude)!, longitudeValue: (pLocation?.coordinate.longitude)!, delta: 0.01)

        // 위치 정보를 추출하여 텍스트로 표시하기
        CLGeocoder().reverseGeocodeLocation(pLocation!, completionHandler: {
            (placemarks, error) -> Void in
            // CLPlaceMark: A user-friendly description of a geographic coordinate, often containing the name of the place, its address, and other relevant information.

            // placemarks의 첫 부분
            let pm = placemarks!.first

            // pm의 country part
            let country = pm!.country

            var address: String = country!
            if pm!.locality != nil {
                address += " "

                //street name
                address += pm!.thoroughfare!

            }

            self.lblLocationInfo1.text = "현재 위치"
            self.lblLocationInfo2.text = address
        })

        locationManager.stopUpdatingLocation()
    }

    override func viewDidLoad() {
        super.viewDidLoad()
        // Do any additional setup after loading the view.
        lblLocationInfo1.text = ""
        lblLocationInfo2.text = ""

        // 상수 locationManager의 delegate를 self로
        locationManager.delegate = self

        // 정확도를 최고로
        locationManager.desiredAccuracy = kCLLocationAccuracyBest

        // 위치 데이터를 추적하기 위해 사용자에게 승인을 요청
        locationManager.requestWhenInUseAuthorization()

        // 위치 업데이트를 시작
        locationManager.startUpdatingLocation()

        // 위치보기 값을 true로 설정

        myMap.showsUserLocation = true

    }

    @IBAction func sgChangeLocation(_ sender: UISegmentedControl) {

    }

}
마지막으로 지도 상에 위치데이터를 인자로 받아 마크를 생성할 setAnnotation 메서드를 작성한 뒤에 세그먼트 레이블을 클릭하면 setAnnotation 메서드를 호출하여 해당 위치에 마크를 찍도록 sgChangeLocation 메서드를 수정해주면 완성이다.
import UIKit
import MapKit

class ViewController: UIViewController, CLLocationManagerDelegate {

    @IBOutlet var myMap: MKMapView!
    @IBOutlet var lblLocationInfo1: UILabel!
    @IBOutlet var lblLocationInfo2: UILabel!

    let locationManager = CLLocationManager()

    func goLocation(latitudeValue: CLLocationDegrees, longitudeValue: CLLocationDegrees, delta span: Double) -> CLLocationCoordinate2D{

        // 위경도를 바탕으로 2D 위치를 반환 받는 함수
        let pLocation = CLLocationCoordinate2DMake(latitudeValue, longitudeValue)

        // span 바탕으로 map scale을 지정하기 위한 span value
        let spanValue = MKCoordinateSpan(latitudeDelta: span, longitudeDelta: span)

        // 2D Location과 Span 값을 받아서 정확한 지역을 반환 받는 함수
        let pRegion = MKCoordinateRegion(center: pLocation, span: spanValue)

        myMap.setRegion(pRegion, animated: true)

        return pLocation
    }

    func setAnnotation(latitudeValue: CLLocationDegrees, longitudeValue: CLLocationDegrees, delta span:Double, title strTitle: String, subtitle strSubtitle: String) {

        let annotation = MKPointAnnotation()
        annotation.coordinate = goLocation(latitudeValue: latitudeValue, longitudeValue: longitudeValue, delta: span)

        annotation.title = strTitle
        annotation.subtitle = strSubtitle
        myMap.addAnnotation(annotation)
    }

    func locationManager(_ manager: CLLocationManager, didUpdateLocations locations: [CLLocation]) {
        // 위치가 업데이트되면 먼저 마지막 위치 값을 찾아낸다.
        let pLocation = locations.last
        _ = goLocation(latitudeValue: (pLocation?.coordinate.latitude)!, longitudeValue: (pLocation?.coordinate.longitude)!, delta: 0.01)

        // 위치 정보를 추출하여 텍스트로 표시하기
        CLGeocoder().reverseGeocodeLocation(pLocation!, completionHandler: {
            (placemarks, error) -> Void in
            // CLPlaceMark: A user-friendly description of a geographic coordinate, often containing the name of the place, its address, and other relevant information.

            // placemarks의 첫 부분
            let pm = placemarks!.first

            // pm의 country part
            let country = pm!.country

            var address: String = country!
            if pm!.locality != nil {
                address += " "

                //street name
                address += pm!.thoroughfare!

            }

            self.lblLocationInfo1.text = "현재 위치"
            self.lblLocationInfo2.text = address
        })

        locationManager.stopUpdatingLocation()
    }

    override func viewDidLoad() {
        super.viewDidLoad()
        // Do any additional setup after loading the view.
        lblLocationInfo1.text = ""
        lblLocationInfo2.text = ""

        // 상수 locationManager의 delegate를 self로
        locationManager.delegate = self

        // 정확도를 최고로
        locationManager.desiredAccuracy = kCLLocationAccuracyBest

        // 위치 데이터를 추적하기 위해 사용자에게 승인을 요청
        locationManager.requestWhenInUseAuthorization()

        // 위치 업데이트를 시작
        locationManager.startUpdatingLocation()

        // 위치보기 값을 true로 설정

        myMap.showsUserLocation = true

    }

    @IBAction func sgChangeLocation(_ sender: UISegmentedControl) {
        if sender.selectedSegmentIndex ==  0 {
            self.lblLocationInfo1.text = ""
            self.lblLocationInfo2.text = ""

            locationManager.startUpdatingLocation()
        } else if sender.selectedSegmentIndex == 1 {
            setAnnotation(latitudeValue: 37.3751, longitudeValue: 126.6328, delta: 1, title: "인천대학교", subtitle: "상세 위치")
            self.lblLocationInfo1.text = "보고 계신 위치"
            self.lblLocationInfo2.text = "인천대학교"
        } else if sender.selectedSegmentIndex == 2 {
            setAnnotation(latitudeValue: 37.4565, longitudeValue: 126.9500, delta: 1, title: "서울대학교", subtitle: "상세 위치")
            self.lblLocationInfo1.text = "보고 계신 위치"
            self.lblLocationInfo2.text = "서울대학교"
        }
    }
}
끝!!
'Mobile > ios' 카테고리의 다른 글
| [ios] ios 9: Tab Bar (0) | 2022.12.17 |
|---|---|
| [ios] ios 8: Page Control (0) | 2022.12.17 |
| [ios] ios 6: webView (0) | 2022.12.15 |
| [ios] ios 5: Alert (0) | 2022.12.13 |
| [ios] ios 4: Picker View (0) | 2022.12.13 |


- 이탈리안 레스토랑
- javascript
- 맛집
- 정보보안기사 #실기 #정리
- 인천 구월동 이탈리안 맛집
- Promise
- await
- react-native
- Async
- 파니노구스토
- redux-thunk
- AsyncStorage
- 인천 구월동 맛집
- redux
- react
- Total
- Today
- Yesterday